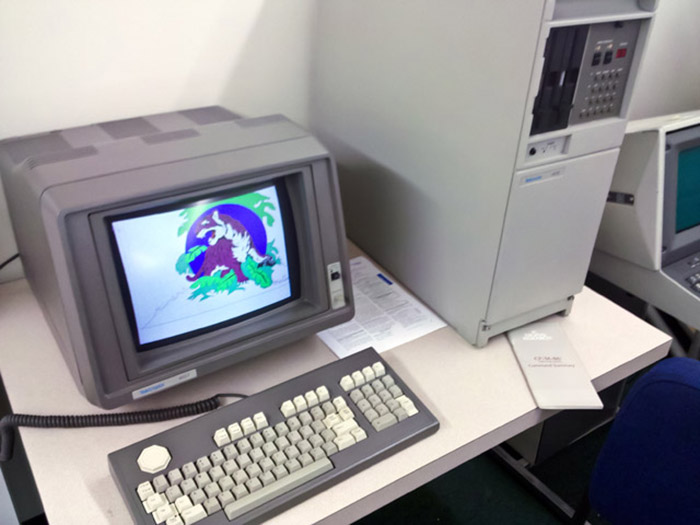
We were restoring a 4107/4170 system and were delighted the day we got some graphics programs to run and watched as the screen of the 4107 came to life drawing color vector graphic images. As we ran various programs the keyboard got more difficult to type on as keys would stop working reliably. Eventually, nearly all the keys stopped working.

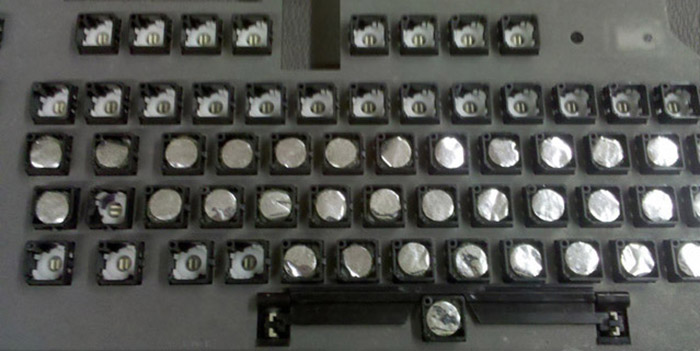
We were familiar with this keyboard and knew that the problem was deterioration of the foam pads. This keyboard was a Keytronic capacitive keyboard which used aluminized mylar on foam pads which would press down against the keyboard when a key was depressed. After 29 years the foam had simply rotted. Each key press simply compressed the foam more and more until the aluminized mylar would no longer make contact with the PCB. To restore these keyboard to operation you have to replace all of the foam pads.
You can flip the original foam sandwich (aluminized mylar-foam pad-plastic pad) out with a small screwdriver hooked under the plastic pad (be careful as sometimes they really shoot out of there and can be easily lost). The foam wipes off the back of the aluminized mylar but we needed to use lighter fluid to clean the residue off the plastic pad.
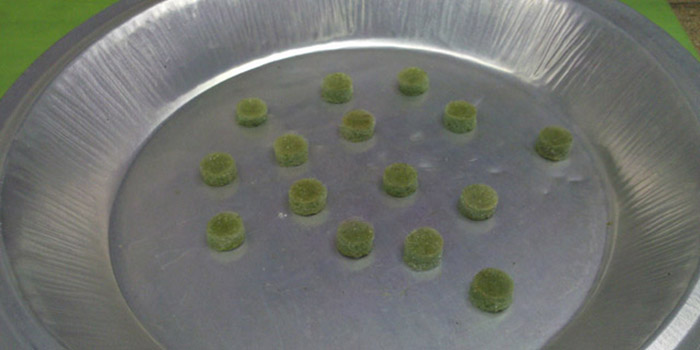
We setup parallel knife blades to cut the foam and it worked quite well. Our knife consisted of two #11 X-Acto blades held with a C clamp on each side of a 0.20" thick nut. We used 0.5" foam and cut 0.20" thick strips. We then used a standard 7/16" hole punch to cut the foam although we needed to sharpen it considerably to cut clean edges. We cut the foam on a smooth board using a slight twisting motion.

Gluing the clear plastic pad onto the foam was straightforward but gluing the foam onto the aluminized mylar had issues. Applying the contact cement on the aluminized mylar caused it to curl up so so the solution was holding it flat with a pick while applying the cement and then pressing the foam onto it while sliding the pick out. There are a lot of key pads to make and it is a lot of work but the end result is a functional keyboard.

We have also repaired a 4115 capacitance keyboard and have a video on our Repair Video page.
